NetCIL Online Email Configuration
Applies to: NetCIL Online
Updated:
2/10/2014
Each user who wishes to send email from NetCIL
Online Client must have an email account configured. You can use the same settings
as you do for your business email account, but it’s highly recommended that
your online system only be used to send mail. The following steps describe how
to perform the configuration:
1. Run NetCIL Online Client, and select the “. Email Setup” button on the main screen as shown below.

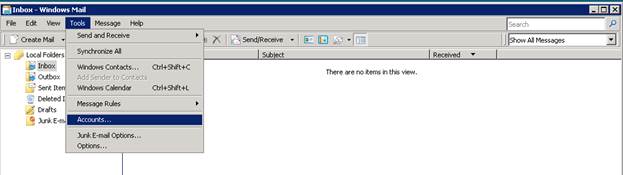
2. The server’s Windows Mail system will start. Select Tools…Accounts as shown below.
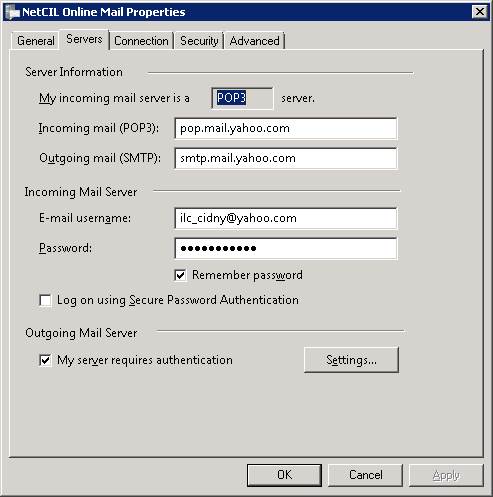
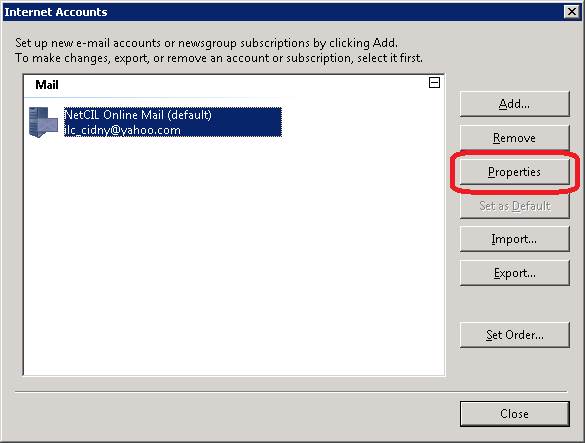
3. Select the NetCIL Online Mail account and press “Properties”
- Configure the fields in the General tab as desired. In the example below, a “catch-all” Yahoo mail account is used to send mail. You can of course use the same settings as your standard business email account. If a “catch-all” account is used, and as long as the “Reply address” field contains your own business email address, any replies that you receive will be routed to your standard business e-mail inbox. Important: Be sure to uncheck the box labeled “Include this account when receiving mail or synchronizing”. Doing so ensures that your online system will only be used to send mail, and that mail you receive will still be routed to your standard email inbox.

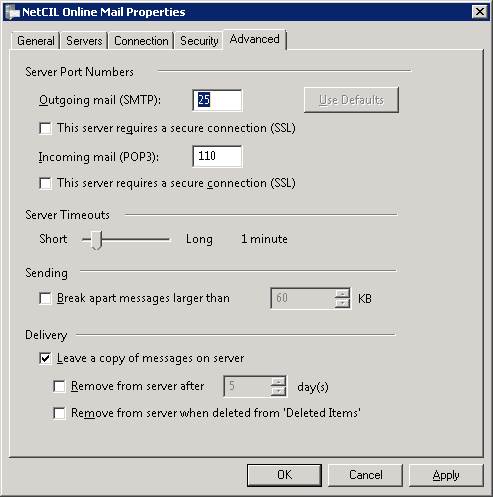
- Mail server and (if needed) and advanced settings can be configured in the “Servers” and “Advanced” tabs as required. The examples below show standard settings for a Yahoo catch-all email account. Note that it isn’t necessary to select “Leave a copy of message on server” if you’ve unchecked the “Include” option as described in step 4, but doing so will help to ensure that mail you receive will still be routed to your standard email inbox.