NetCIL Online Database Administration Guide
Applies to: NetCIL Online
Updated:
12/4/2012
Quick Links:
The following instructions detail the methods that should be used to maintain your virtual cloud server for use with NetCIL Online. These instructions apply to cloud services provided by ed2c; if you run NetCIL as a cloud service on your own equipment, some procedures may vary slightly. Before proceeding, please review the information that is contained in the NetCIL Online User Guide. Although some information is repeated here, these instructions apply only to system administration.
As mentioned in the NetCIL Online User Guide, new NetCIL Online users will normally receive an email that contains three pre-configured connection files. If you are running NetCIL Online as a cloud service on your own equipment, it’s recommended that you create equivalent RDP connection files via Windows System Management functions. The method for doing so is explained later in this guide. It isn’t necessary to create RDP access files, but for the sake of convenience and security, doing so is strongly encouraged. With the exception of system administration, these files are digitally signed by ed2c. They cannot be modified, and they only allow access to the portions of NetCIL Online that are required in order to perform specific tasks.
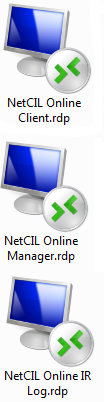
The zip file will normally contain the following four connection files:
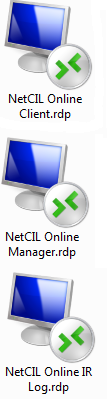
Application for basic data entry of data, such as consumer records. Almost all users will need this file.
Application for database configuration and agency reports
such as the RSA 704.
Only high-level supervisory staff will need this application.
Application designed to perform quick intakes and referrals
to agencies or staff.
Its use is optional; normally only front-desk and receptionist personnel will
enter data with IR Log.
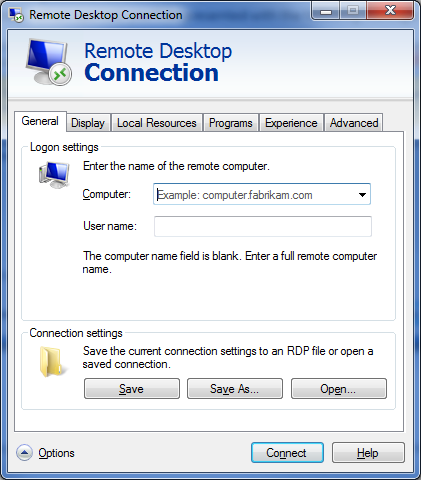
Much like a web browser, NetCIL
Online uses the inherent Remote Desktop capability of Microsoft Windows systems
to deliver applications via the internet. You can always access your cloud
server by running Remote Desktop from your computer: Start…All
Programs…Accessories…Remote Desktop Connection (Windows 7):
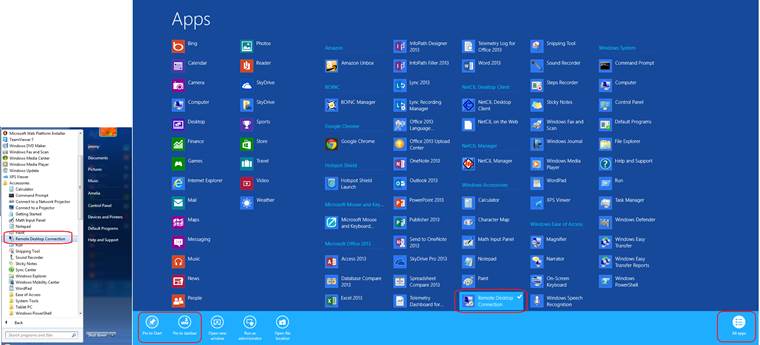
For ease of use on Windows 8 machines, it’s recommended that
you hover your mouse near the bottom of the screen, right-click, select “All
apps”, right-click on “Remote Desktop Connection” so that a check mark appears,
and then select “Pin to Start” and/or “Pin to Taskbar” as desired.
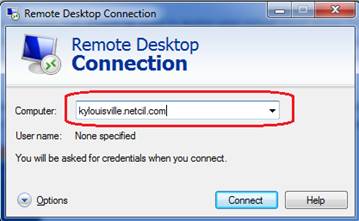
The address of your cloud server
will normally be your (state+city).netcil.com. For
example, if you operate a center in Louisville, Kentucky, your remote address
will be kylouisville.netcil.com:
NetCIL Online can also be
accessed from Apple computers, iPads, iPhones, Google
Chrome Books, Linux computers, and Android portable devices by running the
appropriate Remote Desktop application for the device being used. Useful links
to these applications can be found in the downloads
section of netcil.com: http://netcil.com/downloads.aspx.
New NetCIL Online users will
normally receive an e-mail message that contains three pre-configured
connection files. It isn’t necessary to
use these files, but for the sake of convenience and security, doing so is
strongly encouraged. These files are
digitally signed by ed2c, they cannot be modified, and they only allow access
to the portions of NetCIL Online that are required in order to perform specific
tasks.
The zip file will normally contain the following three
connection files:
Client application for basic data
entry – Almost all users need this file.
Application for database
configuration and agency reports such as the RSA 704. Only high-level supervisory staff need access to this application.
Application designed to perform
quick intakes and referrals to agencies or staff. Its use is optional; normally only front-desk
and receptionist personnel will enter data with IR Log.
As the name implies, only NetCIL Online system administrators should be given the NetCIL Online System Administration.rdp file. This file is not digitally signed, and it can be edited to suit your individual preferences. Place the file on your desktop or other convenient location. When opened, you’ll be presented with the following message:
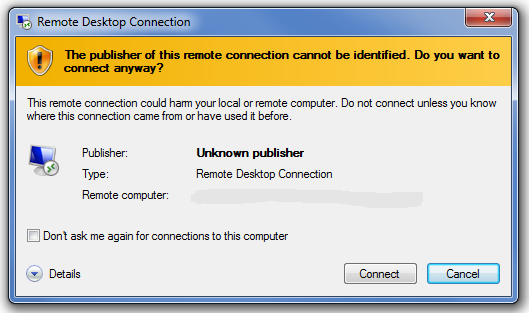
At your option, you can select the “Don’t ask me again…” checkbox to prevent the message from appearing. If you wish you can also edit settings by right-clicking the RDP file and then selecting edit:
Distribute the files and place them on the desktops of users as you see fit. The simplest way to distribute these files to your users is to email them as attachments. To use NetCIL Online on your home computer, simply email the files to your home email address and then place the attachments on your desktop. NetCIL Online will function in exactly the same way as is does from your work computer. Note that some email systems may block attachments such as RDP files; in such cases you can zip them first (right-click…Send to…Compressed (zipped) folder, then right-click…Send to…Mail recipient).
After selecting “Connect”, the following log-on prompt will appear:
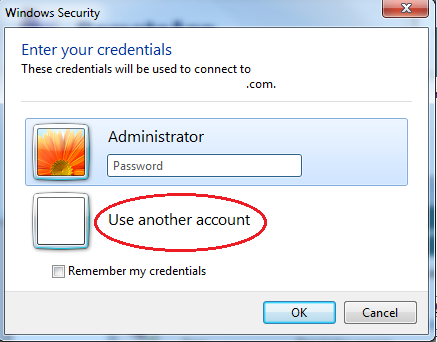
Depending on your system configuration, upon first logon you may have to select “Use another account” as shown above. Enter the user name and temporary password information that was furnished to you by ed2c. System administrators have the ability to add and edit users.

If your computer uses Windows Vista, Windows 7, or Windows 8, you need only enter your username and password. If you’re using Windows XP, you may need to enter the name of your cloud server along with your username. The format will look like this: ip-0A7477A8\{Username}. The characters preceding the slash will be included in an email that you receive from ed2c. If you are running your own cloud server, use the name of your server or domain.
If you wish, you can choose to select “Remember my credentials” as shown above. Please keep in mind that doing so will allow anyone with physical access to your workstation to log on to your NetCIL Online account.
After a successful logon, a desktop window to your NetCIL Cloud Server will appear. Normally a number of shortcuts will be available on the desktop; all of the functions represented by the shortcuts can also be invoked by use of the standard Windows Start Menu. These shortcuts are also stored in the folder C:\NetCIL\Shortcuts.
Note that all of the standard NetCIL applications can be launched from within the system manager’s window:
The following instructions detail how to perform standard NetCIL Online administrative functions.
Configure User Accounts
- Double-click the User Accounts icon. If it isn’t prsent on your
desktop, you can copy it (and other useful shortcuts) from the folder
C:\NetCIL Data\Extras\Shortcuts. You can of course also invoke User
Account configuration from the Control Panel.

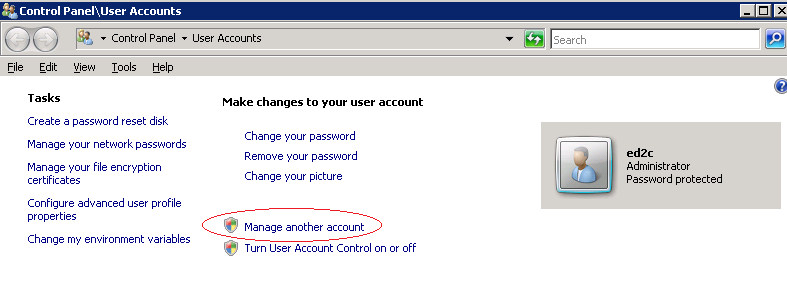
- Select “Manage another account”:
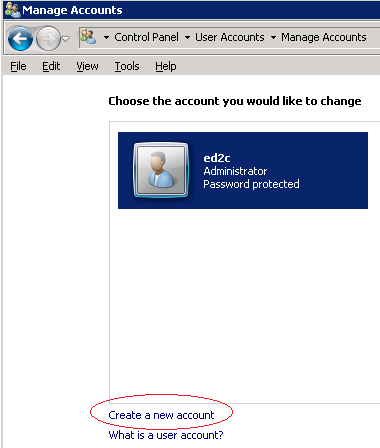
- Select “Create a new account” (or click on an existing user to edit.)
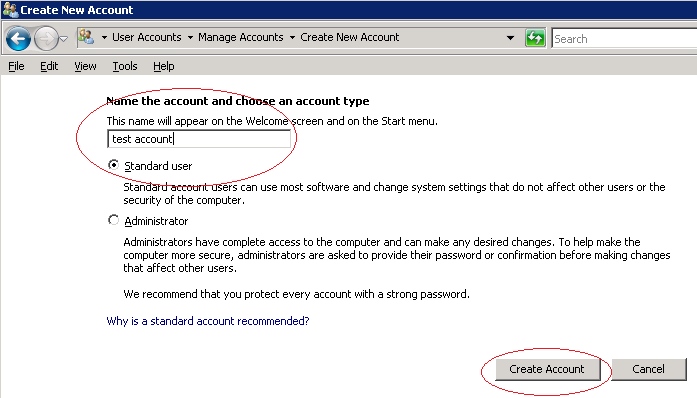
- Enter a name for the account – This is the name that your users will
enter for logon to NetCIL Online.
It’s highly recommended that you make all accounts standard users
with the exception of your own and other trusted system managers.
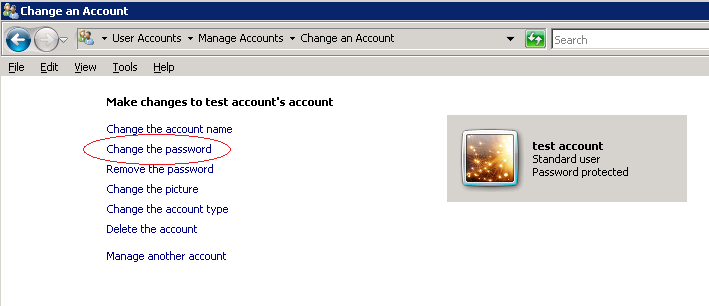
- Click on the user account that you have just created (or wish to
modify) and then select “Change the password”:
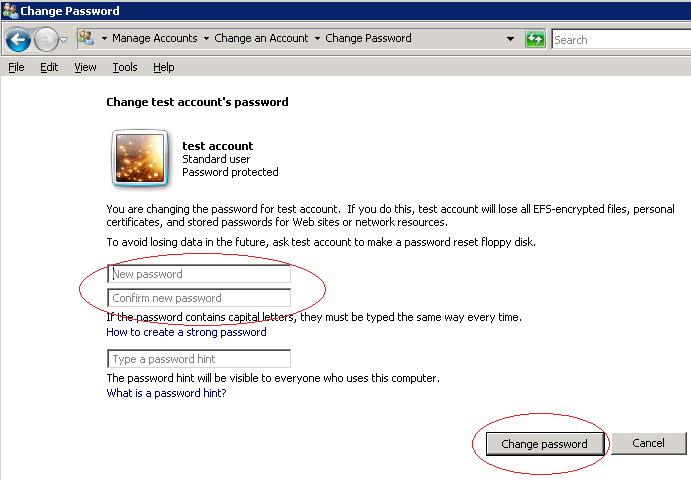
- Enter and then re-enter a temporary password as shown below. Passwords (even temporary ones) must be
at least six characters, they must contain a mix of upper and lower case
characters, and at least one character must be a non-alpha value. For example, “Sample321” is a valid
password, whereas “sample321” and “Sample” are not. By default, passwords must be changed
every 90 days. You can change you system’s security policy, but it is highly
recommended that you retain the requirement to use strong passwords. Users should also change their temporary
passords after a successful first logon. The procedure for doing so is
outlined in the NetCIL
Online User Guide. The internet, as we all know, is a very dangerous
place.
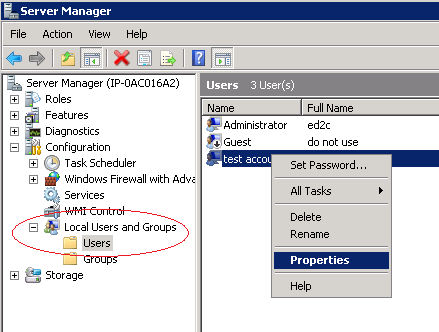
If you wish, you can also
edit other user account settings. To do so, from the Start Menu select
Start…Administrative Tools…Computer Management. Expand “Configuration”, “Local
Users and Groups”, then “Users”. Right
–click on the user account as shown below and then edit values as desired.